
Last updated September 20, 2026
Free on-site gate assessment - hinges, posts, and your LiftMaster or Nice gate operator checked before anything is quoted
The assessment is free and the quote is the invoice.


 Before
 After
After Before
 After
After Before
 After
AfterGate Repair Maintenance Checklist for Arcadia Homeowners
Most gate maintenance checklists circulating online were written by marketing teams who have never opened an operator housing. They tell you to “lubricate the chain” and “check the motor” without ever telling you what the chain should measure or what the motor should sound like. In Arcadia, where the summer heat bakes gate electronics and the Santa Ana winds throw fine grit into every bearing surface, a vague checklist is barely better than no checklist at all. This guide is built from the inspection sheets our Gate Repair technicians actually leave behind, and it gives you the real numbers: the chain deflection in millimeters, the battery voltage floor, the limit-switch photo positions. You’ll learn what to measure, what to photograph, and what a technician needs to see before they touch a single adjustment screw.
Quick Answer
A proper Arcadia gate maintenance routine covers four things every season: chain or drive-arm tension within manufacturer tolerances, photo-eye alignment verified with an actual obstruction test, limit-switch positions photographed and logged before any adjustment, and battery backup voltage tested under load. The single most useful habit is photographing your limit-switch positions and writing down the readings, because that baseline is what protects you from paying twice to rediscover the same problem when a future Gate Repair Warning Signs: A Arcadia Homeowner’s Reference Guide could have helped you catch issues early.
Table of Contents
- Chain and Drive-Arm Tension: The Numbers That Matter
- How to Photograph and Log Limit-Switch Positions Yourself
- The Four Grease Points Most Homeowners Skip
- Battery Backup Voltage: The Floor Below Which Your Gate Fails
- How to Document Findings a Future Technician Can Actually Use
- Arcadia-Specific Seasonal Checks: Heat, Wind, and Grit
- Common Mistakes to Avoid
- When to Call a Professional
BeforeAfterChain and Drive-Arm Tension: The Numbers That Matter
Chain tension is the single most misdiagnosed setting on a residential gate operator in Arcadia. Too tight, and you load the motor bearings until they whine and fail early. Too loose, and the chain can jump the sprocket on a windy day, which is exactly when you don’t want a gate hanging off its track. The correct measurement is deflection, not “feel.” For the most common operators we service in this area, here’s what the spec sheets actually say:
- LiftMaster LA400: 1/4 inch (6mm) deflection at the midpoint of the chain run, measured with light finger pressure. Anything beyond 1/2 inch means the tensioner needs adjustment or the chain has stretched past service life.
- FAAC 400: Similar 6mm midpoint deflection on the drive chain, but the arm attachment bolts need checking separately. These vibrate loose in Arcadia’s dry air, and a loose arm bolt mimics a chain problem every time.
- Viking E-Series: Viking’s belt and chain drives run on a spring-loaded tensioner that should sit in the middle third of its travel window. If the tensioner indicator is pegged at either extreme, the belt has stretched or the bracket has shifted.
We’ve worked on gate motors and openers in Arcadia where the chain was tightened “by hand” by a previous homeowner until it rang like a guitar string. That gate ran for 11 weeks before the motor bearing failed. A chain should have visible slack at rest. If it’s guitar-string tight, the operator is now the load, not the gate.
How to Photograph and Log Limit-Switch Positions Yourself
A limit switch is the component that tells the operator where the gate stops in the open and closed positions. When a technician adjusts travel, they’re moving either a mechanical cam inside the operator housing or a magnetic limit assembly on the track. If you don’t have a photographic and written baseline, you have no way to know whether a future adjustment was correct or whether it drifted.
Here is the exact procedure we recommend for Arcadia homeowners, and it takes about ten minutes:
- Open the operator housing cover. On most residential operators, this is two or four Phillips screws. Kill the power at the dedicated breaker first.
- Locate the limit assembly. On a LiftMaster LA400, it’s the two white cams on the drive shaft near the motor. On a FAAC 400, it’s the magnetic limit board with a small indicator LED. On a Viking E-Series, look for the orange limit nuts on the threaded shaft.
- Photograph the assembly from directly above and from a 45-degree angle. Use a ruler or a coin in the frame for scale. This matters more than it sounds, because a photo with no scale reference tells a future technician nothing.
- Write down the physical position. On cam-style limits, note which tooth the cam sits on and the angle of the adjustment slot. On magnetic limits, record the distance from the limit to the mounting bracket in millimeters.
- Operate the gate one full open and one full close cycle while watching the limit assembly. Photograph the position at both stops. These are your baseline images.
- Store the photos and notes together, ideally in a folder with the operator manual and the date. We leave this kind of documentation on every gate repair in Arcadia, and it’s the habit that saves homeowners the most money over time.
The reason this matters: a limit switch that drifts slowly past its original setting is often the first sign of gear wear or a mounting bracket loosening, not an electrical fault. Without a baseline, that drift gets dismissed as “the gate always did that” until the day it stops traveling at all.
The Four Grease Points Most Homeowners Skip
Most people grease the obvious stuff: the chain, the hinges, maybe the track rollers. That’s fine, but it misses four points that seize first in Arcadia’s dry, dusty conditions. When these seize, the operator motor works harder, the amp draw climbs, and the circuit board eventually cooks itself. A seized grease point is a board replacement waiting to happen.
- The drive-arm pivot at the operator end: This is the small pin where the worm-drive arm or piston connects to the operator housing. It sees full load every cycle and sits in a low spot where water collects if the operator housing seal is even slightly worn. Grease this twice a year.
- The wheel carriage guide pins: Most sliding gates in Arcadia run on a cantilever wheel assembly with vertical guide pins. These pins get loaded with fine dust and brake gradually. You’ll hear the gate starting to labor before you see it. Grease the pins, not the wheel bearings.
- The hinge pin interiors, not just the exterior: Arcadia has swing gates that pivot on heavy barrel hinges. Greasing the outside of the hinge does almost nothing. The friction surface is the inside of the barrel. A needle-tip grease gun adapter gets lube in the right spot. If the hinge doesn’t have a zerk fitting, work a heavy oil down the pin shoulder with the gate propped.
- The manual release lever and its actuating cable: This is the “in case of power failure” mechanism nobody thinks about until the power fails and the release won’t move because it’s corroded in place. Grease the lever pivot and work the cable sheath with a light lubricant annually. Test the release once by hand, with the gate already closed and braked.
The most common first-seizure point in our experience is the drive-arm pivot. It’s small, hidden, and constantly loaded. When it seizes, the arm no longer articulates smoothly, and the gate starts stuttering at the ends of travel. Homeowners describe it as “the gate shudders at the last foot.” That’s usually not a motor problem. It’s a dry pin.
Battery Backup Voltage: The Floor Below Which Your Gate Fails
Every gate operator with a battery backup has a voltage floor below which the battery will not deliver enough current to move the gate, no matter how recently the operator was serviced. That floor is not “dead battery.” It’s a specific voltage under load, and most Arcadia homeowners have never tested it.
A 12V sealed lead-acid battery, which is what the majority of residential operators use, should read between 12.6 and 12.8 volts at rest after being off the charger for a few hours. Under load, meaning while the gate is actually opening, it should drop no lower than about 11.8 volts. If you’re seeing 11.5 or below under load, the battery is marginal.
For 24V systems, which include many commercial-grade residential operators and most Viking E-Series installations, the voltage floor under load is 23.6 volts. A 24V battery bank reading 22.8 under load will fail on the next power outage, and it may fail partially, meaning the gate opens halfway and stops, which is a worse failure than not opening at all because the gate is now unlatched and immovable.
The test requires a multimeter and the willingness to hold the probes on the battery terminals while the gate cycles. If you’re not comfortable doing this, it’s a two-minute check for any technician. The point is to measure voltage under load, not resting voltage. A battery can rest at 12.7 and collapse to 10.9 under load. That battery is dead for all practical purposes, and the first Arcadia windstorm that takes down a power line will prove it.
How to Document Findings a Future Technician Can Actually Use
Here’s the thing we’ve learned from eleven years of Vance Gate Repair Arcadia home service calls: most homeowners who do maintenance write down the wrong things. They write “checked the gate, looked fine” on some scrap of paper or in a phone note, and that note is useless to a future technician. What a future technician needs is measurements, part numbers, and photos stored together.
Here’s the format we recommend, which mirrors what we leave behind on every service visit:
- Date and weather conditions: “October 14, high wind advisory” tells a technician more than just the date.
- Operator brand and model, plus serial number: Written in full. The serial number is not printed anywhere else that’s easily visible, and it’s the first thing a parts supplier asks for.
- Readings, not impressions: Chain deflection in millimeters, battery voltage at rest and under load, force setting position if it’s visible on the control board, limit-switch position by tooth or millimeter.
- Photos stored with the notes: At least four photos per inspection: operator housing open, limit assembly, chain or drive arm, and overall gate position at full open and full close.
- What was changed and what was NOT changed: “Greased drive-arm pivot, did not adjust limits” is a complete record. A future technician who sees that knows exactly what was verified and what remains unknown.
Keep this log with the operator manual. For Gate Repair Permits, Codes & Inspections in CA: What You Need to Know, documentation matters. If you ever sell the house, it’s a genuinely valuable thing to hand over. If you ever need a repair, it turns a diagnostic visit into a straight-to-solution visit, because the technician isn’t starting from zero.
Arcadia-Specific Seasonal Checks: Heat, Wind, and Grit
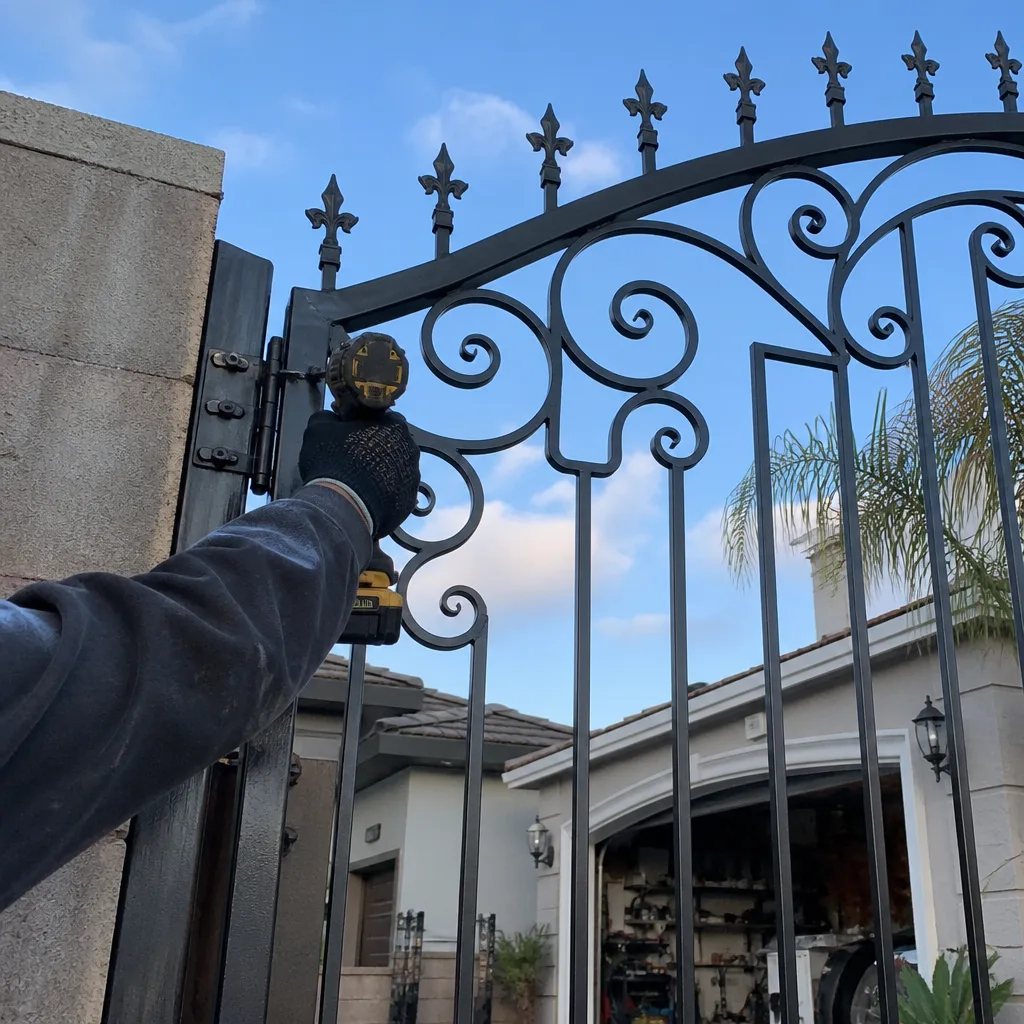
Arcadia’s climate does three specific things to gate hardware that a generic checklist never addresses. First, the summer heat pushes circuit-board capacitors and battery chemistry harder than coastal climates ever do. Second, the Santa Ana winds load gates laterally in ways that expose loose bracketry fast. Third, the dry air and fine dust work into every pivot and electrical contact. Your maintenance schedule should reflect those three realities.
Heat checks (June through September): After a heatwave, open the operator housing and look at the circuit board. Any bulging capacitor or browned area around the power supply section is a pre-failure signal. Listen to the transformer: a faint buzzing that gets louder as the day heats up indicates the transformer is running at its thermal limit. Check battery temperature: a battery that’s too hot to hold comfortably against your palm after a full charge cycle is failing.
Wind checks (October through February): During Santa Ana season, open and close the gate while watching the top rail from the side. Any sway greater than about an inch means a guide roller or hinge bushing is worn, and the next strong gust is going to make it worse. Check the drive-arm bracket bolts on swing gates specifically, because those are the fasteners that wind backs out over a season.
Grit checks (year-round, but worst in fall): Blow out the operator housing with compressed air at low pressure every three months. Pay attention to the photo-eye lenses, the limit-switch contacts, and any exposed electrical terminals. Dust that coats a terminal isn’t just messy, it’s a conductivity problem waiting for a damp morning.
If you’re looking at replacing a gate rather than maintaining one, the seasonal demands are the same but the starting condition matters more. We walk through those considerations in our gate installation guide for Arcadia, including which operators hold up better in this specific climate.
Common Mistakes to Avoid
- Greasing a sealed bearing and calling it a day: Sealed bearings are not greaseable, and forcing lubricant past a seal just destroys the seal. Grease the pivots and pins, not the sealed wheel bearings.
- Tightening the chain until it feels “snug”: Snug by hand is usually overtight. Measure the deflection. A chain that’s too tight kills motor bearings faster than one that’s slightly loose.
- Ignoring the manual release until the power goes out: The release lever needs annual exercise. If you can’t move it by hand with the gate braked, fix it before the first outage, not during it.
- Lubricating with WD-40 instead of grease: WD-40 is a penetrant and water displacer, not a lubricant. It washes away real grease and leaves the surface dry within weeks. Use a lithium or moly grease for pivots, a light machine oil for cables, and nothing at all on sealed bearings.
- Adjusting the force setting to compensate for a dry hinge: When a gate starts binding, the temptation is to crank up the force dial so it pushes through. That masks the mechanical problem and causes the motor to run hot. Grease first, then re-test.
- Not photographing the limit assembly before a technician adjusts it: If you hand the gate to a technician without a baseline, you’re trusting their notes. A good technician will leave you their own baseline. A bad one will leave you with a changed travel and no explanation. Your own photos are your protection.
- Replacing the battery without testing the charger: A new battery on a failing charger dies in six months and the homeowner blames the battery. Test the charge voltage at the battery terminals while the charger is active. If it’s not within the operator manufacturer’s spec, the charger is the problem.
When to Call a Professional
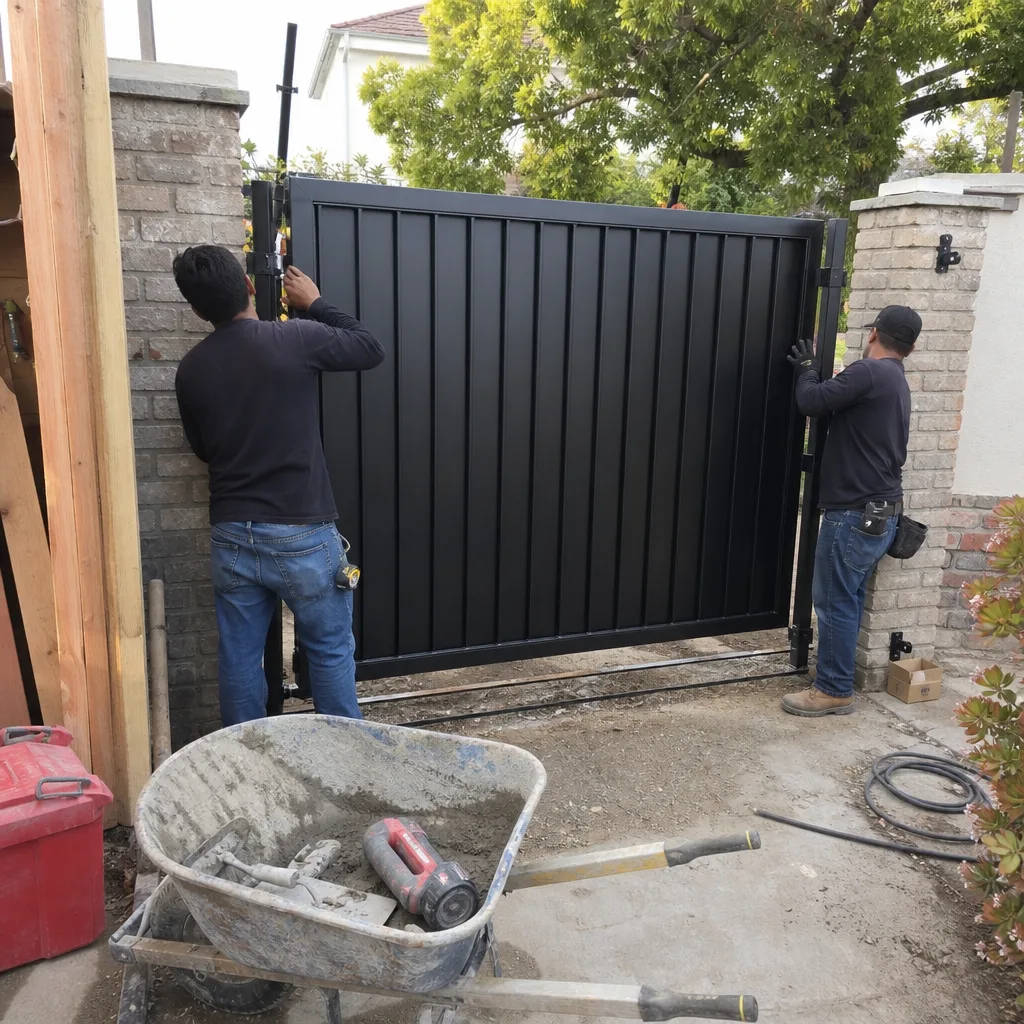
Some checks are owner-level work: greasing pivots, photographing the limit assembly, testing battery voltage at rest. Others cross into territory where being wrong is dangerous or expensive. If the gate is still moving but you can hear grinding from inside the operator housing, stop cycling the gate and call someone. That’s gear wear, and every additional cycle shaves metal off the drive gears. If you smell a burning or hot-plastic odor near the operator, kill the breaker and don’t run the gate again until it’s inspected. If the gate has jumped off its track or the chain has slipped the sprocket, that’s a repair call, not a maintenance item. The same goes for any spring-loaded tensioning mechanism, because those are under load even when the gate is stopped.
Vance Gate Repair Arcadia offers free estimates in Arcadia. Call (562) 267-0589 and a live person answers, day or night. We’ll give you a written price before any work starts, and every visit leaves a documented photo record of what we found and what we changed.
Frequently Asked Questions
Every three months for the basic checks, and twice a year for the deeper items like battery load testing and limit-switch photography. Arcadia’s dust load and summer heat make quarterly inspections more valuable than the annual check that might suffice in a coastal climate.
Battery backup voltage under load. Homeowners check the battery when the power fails and the gate still won’t move, but by then the battery has been dead for months. The test should be done with a multimeter while the gate cycles, and it takes two minutes.
You can lubricate the external pivots, hinge pins, and guide pins yourself using a grease gun and the correct grease. Leave anything inside the operator housing to a professional, because the housing contains high-voltage capacitor terminals even with the power off, and the energy stored in a capacitor is enough to injure you.
A lithium-complex grease with a mid-range NLGI rating works best for the pivots and pins. It holds up to the heat without thinning and doesn’t immediately load up with dust the way a sticky moly paste does. For cables, a light machine oil is better than grease.
Yes. LiftMaster and Viking operators tend to have exposed limit assemblies that benefit from regular photography and cleaning. FAAC units are more sealed but their drive-arm pivot bolts are more sensitive to vibration. Linear and DoorKing operators have their own wear patterns around the gear train. The core checks are the same, but the failure points differ by brand.
Stop running the gate and call for service. Grinding from inside the operator is usually gear wear, and every additional cycle removes more material from the gears. The repair gets more expensive the longer it runs. Call (562) 267-0589 for a free estimate and a written price before any work starts.
The Bottom Line
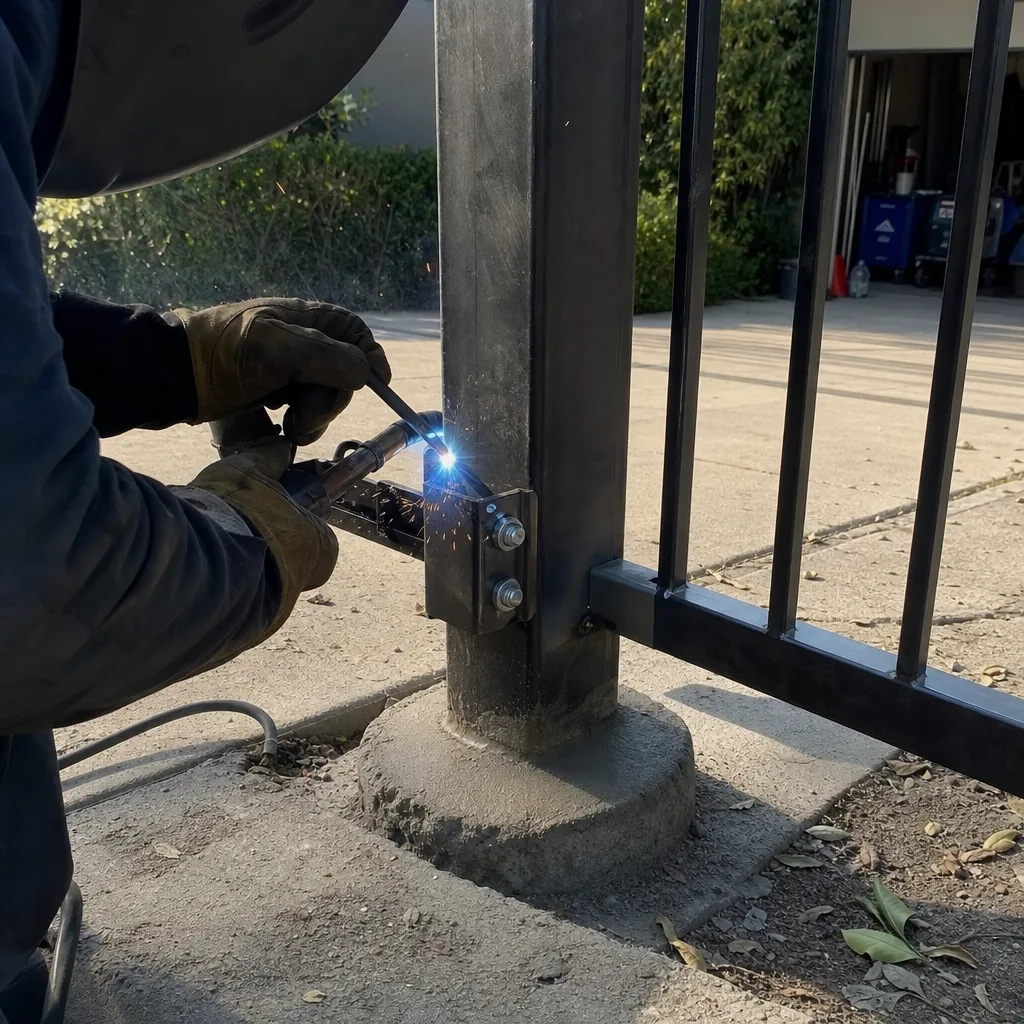
A useful gate maintenance checklist is specific. For more guides & resources, see our blog. It gives you a chain deflection measurement in millimeters, a battery voltage number under load, a photograph-logging procedure for your limit switches, and a grease-point list that includes the hidden pivots. The goal isn’t to make the gate look maintained. The goal is to leave a documented record that keeps the gate running through Arcadia’s heatwaves and windstorms and stops small wear items from becoming motor or board replacements. Check the numbers, photograph the settings, test under load, and write down what you found. That discipline is what separates a gate that lasts twenty years from one that gets replaced in eight.
Written by Adrian Vance, Owner at Vance Gate Repair Arcadia, serving Arcadia since 2014.